


Keep in mind that these are more like general instructions, not a row by row pattern.
Measure your dog (or cat) around the stomach, from groin area (you don't want the sweater to cover that area or you will have a messy puppy/kitty) to front legs, between front legs, around neck and length of neck.

CO 48 (or # of stitches needed for your size in an even number)
k2p2 rib ( in the round) for about 1-1.5 inches keeping a marker at the beginning of the round.
Knit (in the round) for about 5 inches (or number of inches from groin to front legs).
Using the beginning of round marker as the center, place two markers on either side of the center to mark how far apart the front leg holes should be. (For my dog his legs are two inches apart, so I placed a marker an inch from center on each side).
Knit to first marker, and then as you knit the next 10 (or 15 for larger dogs) place the stitches on stitch holder or scrap yarn. Continue knitting around to 1o (or 15) stitches before second marker and repeat. Remove the two extra markers. (Leave the beginning of round marker).
Continue knitting around for about 1.5 inches.
k2p2 rib for 1-1.5 inches
Using beginning of round marker as center, count out a third of the stitches on each side of the center and place a marker.
The "top" third of the stitches will be your hood.
K2P2 to first marker.
Knit across the hood stitches placing a marker in the center, turn work and purl back. Turn and knit, turn and purl back. Move marker up each row.
On the next row Knit first stitch and then kfb in the second stitch. knit across to stitch before center, kfb increase, knit center stitch, and then kfb. Knit across to next to last stitch, kfb, knit last stitch.
Repeat increase row every right side row for about two inches.
Skip 2nd and next to last increases and continue center increases until hood is half as tall as necessary.
Knit knits and purl purls until hood is at the right height.
pick up stitches along sides of hood and k2p2 around hood and neck until neck is long enough. Bind off stitches around neck, and continue k2p2 rib around hood stitches until hood is as deep as necessary. Bind off.
I sewed bottom edges of the hood rib to the neck area to give it a good shape when folded back, but you could add a drawstring around instead by weaving a cord through the ribs.
***This "pattern" is untested so please let me know if I didn't write it clearly enough, or if you find a mistake!***


6 comments:
For the second step (knit in the round for approx 5 inches), does the 5 inches include the ribbing at the bottom? Or is it 5 inches + the 1 1/2 inches of rib? Thanks!
I don't understand what you mean at this part:
"Knit to first marker, and then as you knit the next 10 (or 15 for larger dogs) place the stitches on stitch holder or scrap yarn. Continue knitting around to 1o (or 15) stitches before second marker and repeat. Remove the two extra markers. (Leave the beginning of round marker).
Continue knitting around for about 1.5 inches."
So I knit the next 10 stitches and put them onto a scrap piece of yarn after I've knit them? And then I keep going and do the same thing again? I am so confused :(
You seem to have forgotten to write the part of the cuffs!
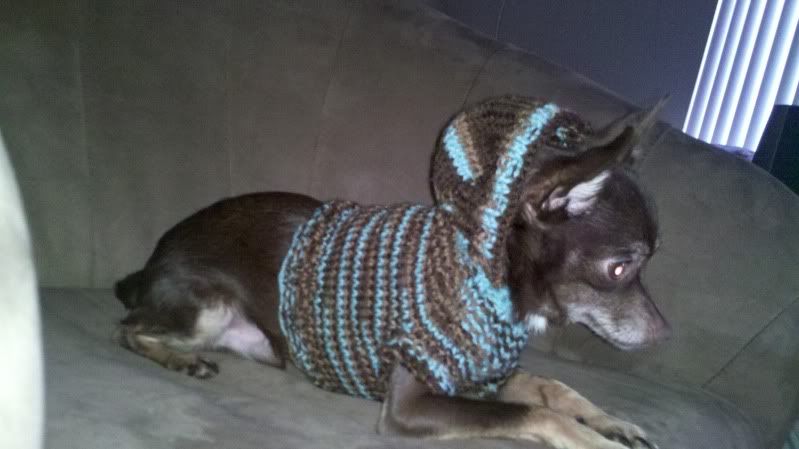
What a cutiepie!
The sweather is supercute but the pattern is almost impossible to follow and I do knit a lot. More pictures would be nice and there's pieces missing in the pattern around the leg part and it's quite difficult to understand the hood part as well. Glad ur sharing though.
I gotta say, this is about the funniest dog sweater I've ever seen. I don't mean that in a bad way, I mean it made me giggle a little and want to pat the doggie on the head while saying,"Awwww!"
That kind of funny! Thanks for the smile.
Post a Comment